
[fusion_builder_container hundred_percent=”no” equal_height_columns=”no” menu_anchor=”” hide_on_mobile=”small-visibility,medium-visibility,large-visibility” class=”” id=”” background_color=”” background_image=”” background_position=”center center” background_repeat=”no-repeat” fade=”no” background_parallax=”none” parallax_speed=”0.3″ video_mp4=”” video_webm=”” video_ogv=”” video_url=”” video_aspect_ratio=”16:9″ video_loop=”yes” video_mute=”yes” overlay_color=”” video_preview_image=”” border_color=”” border_style=”solid” padding_top=”” padding_bottom=”” padding_left=”” padding_right=”” type=”flex”][fusion_builder_row][fusion_builder_column type=”1_1″ layout=”1_1″ background_position=”left top” background_color=”” border_color=”” border_style=”solid” border_position=”all” spacing=”yes” background_image=”” background_repeat=”no-repeat” padding_top=”” padding_right=”” padding_bottom=”” padding_left=”” margin_top=”0px” margin_bottom=”0px” class=”” id=”” animation_type=”” animation_speed=”0.3″ animation_direction=”left” hide_on_mobile=”small-visibility,medium-visibility,large-visibility” center_content=”no” last=”true” min_height=”” hover_type=”none” link=”” border_sizes_top=”” border_sizes_bottom=”” border_sizes_left=”” border_sizes_right=”” first=”true” type=”1_1″][fusion_text columns=”” column_min_width=”” column_spacing=”” rule_style=”default” rule_size=”” rule_color=”” content_alignment_medium=”” content_alignment_small=”” content_alignment=”” hide_on_mobile=”small-visibility,medium-visibility,large-visibility” sticky_display=”normal,sticky” class=”” id=”” font_size=”” fusion_font_family_text_font=”” fusion_font_variant_text_font=”” line_height=”” letter_spacing=”” text_color=”” animation_type=”” animation_direction=”left” animation_speed=”0.3″ animation_offset=””]
In today’s video, I’m going to be showing you guys how to properly set up your audio, microphone and video settings in Discord. In order to begin, first open Discord on your computer and follow these steps:
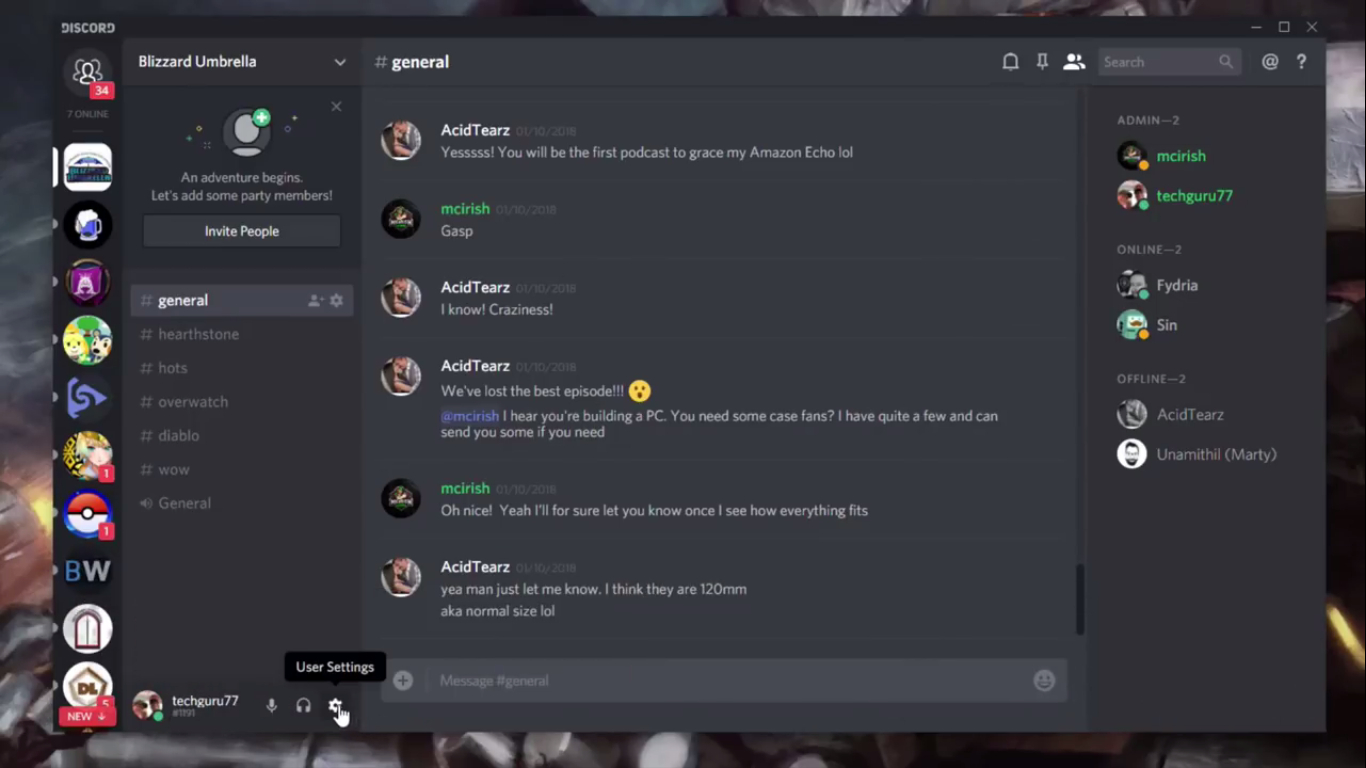
- There is a gear icon right next to your Discord username. Click on it in order to bring up your User Settings.
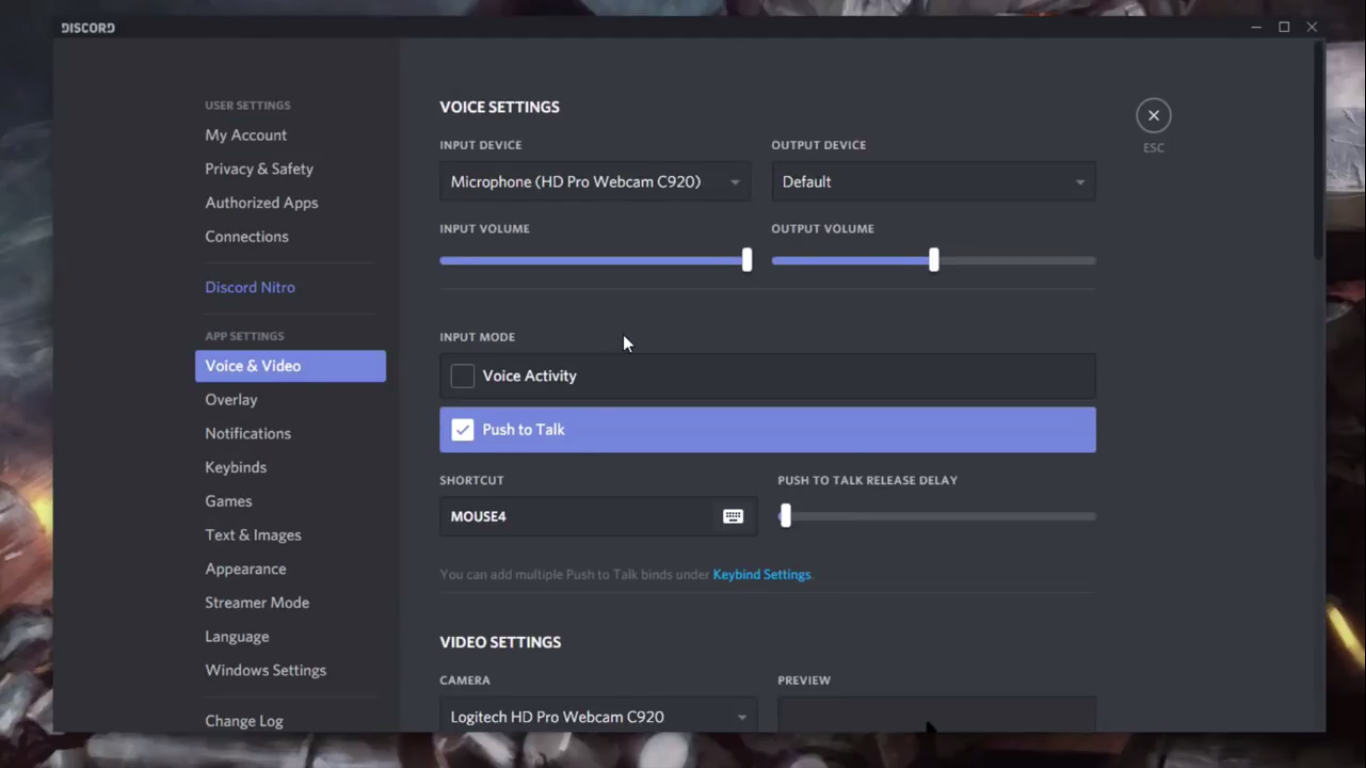
- On the screen that comes up, you will notice a few options under the App Settings heading. What we want to check out is the Voice & Video section, so click on that to bring up the following screen:
-
- This screen will contain settings that you’ll most likely change in order to get the ideal experience when using Discord. Note that there are two main sections within this screen – one for video settings, and one for voice.
- The voice settings relate to your microphone, headset and/or speakers. As for video, that would relate to your connected webcam and your overall display picture within the app.
- Choose your desired input device underneath Input Device.
- Note: It will be set to ‘Default’ at default; this means that Discord will use whatever may already be built into your computer’s sound card. As I am recording this video for you, I will be using a different setup here.

-
- If you don’t find your device here, you may want to restart your computer, then relaunch Discord again for the program to recognize it. If it still doesn’t come up, you may simply have an issue with your sound card.
- Select your desired output device underneath Output Device. This is where the sound will come from in relation to you listening to others that you may be communicating with in a direct message, as part of a voice channel, etc.
- Like with your input device, Discord will use your computer’s built in audio output device by default.

- Adjust the volume(s) of your audio devices to best suit you by using the blue bar underneath either of your devices.

-
- Input volume refers to how loudly you would sound if you were to speak into your microphone, whereas output volume would be a measure of how loud the sound coming from others would be.
- Select your desired input mode. It’s often a good recommendation to always have Push to Talk as your input mode; this ensures that only sounds made after you trigger your device, are recorded. If it is set to Voice Activity, your input device would automatically pick up ANY sound that it can detect – such as kids, your breathing, sighing, etc. That can come off as annoying, so it isn’t ideal to use if you’re in a fairly noisy environment.

-
- You can also select a shortkey here to easily trigger your audio device via Push to Talk. Simply click on the keyboard icon to change the button you want to use, at any time.
- In addition, you can control how long it takes Discord to register your shortkey to activate your audio input device. Ideally, I tend to keep it at 20 milliseconds, but it all depends on your internet connection and the amount of lag you may to deal with.
- Select your desired video input device from the dropdown list underneath Video Settings. You can even see a preview of your feed by clicking the Test Video button to the immediate right.

And that’s it! You should now have your audio and video set up for Discord exactly how you need it.
Bonus tip: You can also control incoming and outgoing sound when you’re in a channel by clicking the mic icon (to mute yourself) or the headset icon (to mute others).

[embedyt] https://www.youtube.com/watch?v=fnMKZB6zTcQ[/embedyt]
[/fusion_text][/fusion_builder_column][/fusion_builder_row][/fusion_builder_container]

