In this tutorial, you will learn how to quickly and easily boot into Safe Mode in Windows 11. There are 3 different ways of doing this.
1.) Run MSCONFIG 2.) Shift Click on the Start Button and 3.) Fail-Safe method. (This is the one you will need to use if you can’t get your PC to boot at all.
The first method of booting into Safe Mode in Windows 11 is by going to your Start menu and then typing in the word RUN into the search bar. This will open the RUN application, and from here you will just need to type MSCONFIG into the box.
Once you have typed in MSCONFIG, hit enter or the OK button, and you will now be presented with the System Configuration options. Go to the 2nd tab that is labeled BOOT. Here is where you will have the opportunity to select SAFE BOOT and leave the selection to minimal. Once you have done this, click APPLY below and then hit ok. Now when you restart your PC, it will boot into safe mode.
To turn this setting off when you have resolved your issues, return to these settings and uncheck SAFE BOOT.
The second method to boot in Safe Mode is to just go to your Start menu and click the power button where you normally restart/power off your computer. HOLD DOWN the SHIFT key on your keyboard and then click restart. This will make sure you boot in Safe Mode.
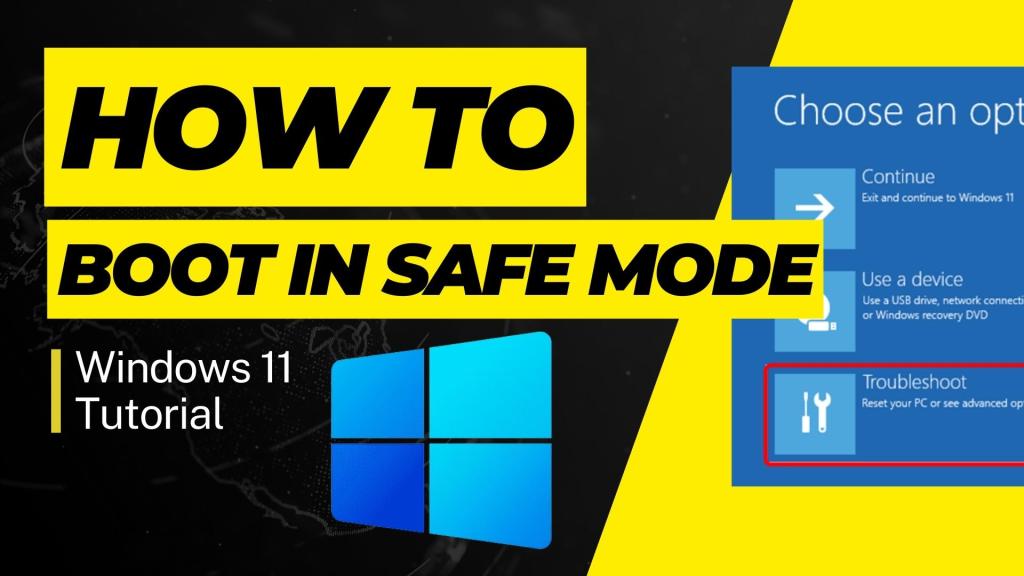
After rebooting your machine you will see the following screen. Follow these steps in THIS order.
The final method is for people who CANNOT boot into Windows and their machine is failing. In this case, try and turn your machine on two times, and it will fail. Then, on the 3rd try in a row, it will automatically give you the option to boot into Safe Mode using the instructions above.


Leave A Comment