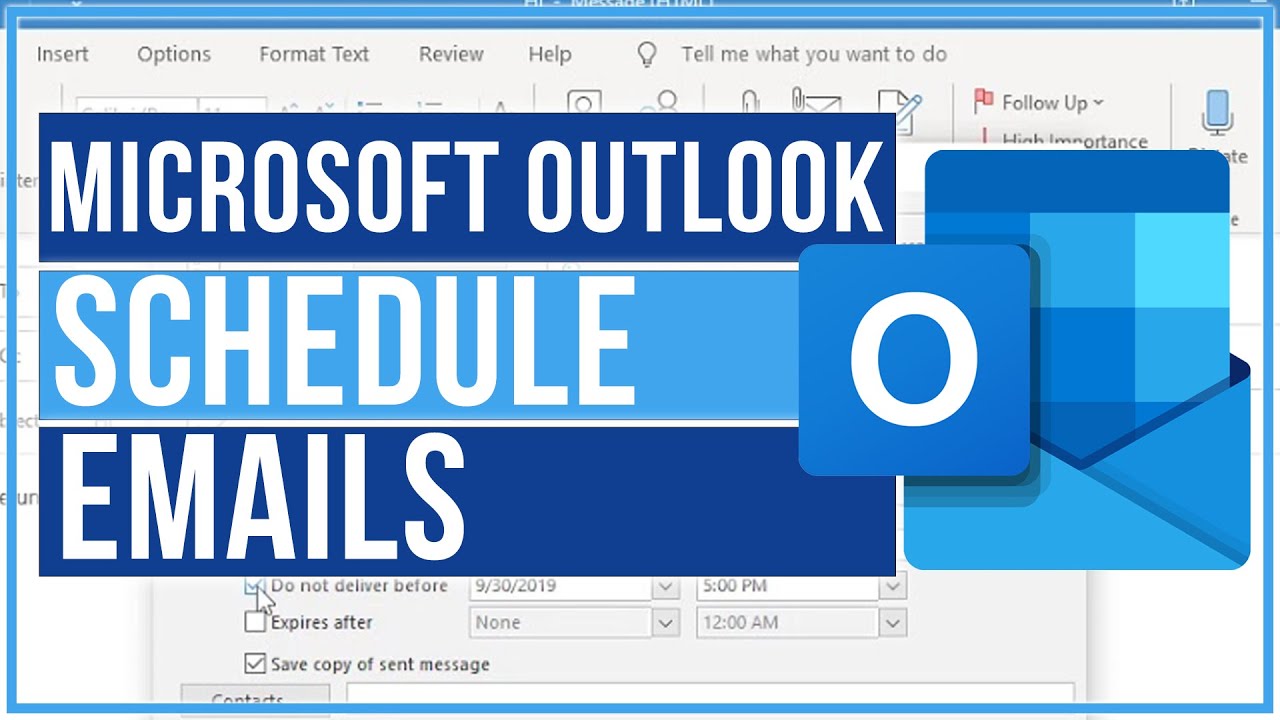
Today I’m going to walk you through a full tutorial on how to schedule emails in Microsoft Outlook. I’ll talk about how to schedule emails in the desktop app and the browser version of Outlook.
Desktop App
- In Outlook, compose your email and fill in the recipient info, email subject, etc.
- Select the Options tab at the top of the page. See More Options.
- Click on Delay Delivery and a dialog box will appear.

- See the section called Delivery options.
- To schedule an email, check the box that says “Do not deliver before” and enter a date and time to deliver. Hit Close.
- Then hit Send to send the email.
- In the left menu by Outbox, you will see a blue number that indicates how many scheduled emails you have.
- When you click on Outbox, you’ll see the specific scheduled email(s) and the date(s) they will be sent.
- You can go back into More Options and change the delivery day/time if you wish.
Browser Version
- Compose the message like normal.
- Click the drop down menu by the Send button.
- Select Send Later.
- Set date and time to send.

- In the browser version, scheduled messages actually show up under Drafts but have a message indicating when they are scheduled to send.
- You can hit Cancel Send to remove the scheduled email.
I hope this tutorial on how to schedule emails in Microsoft Outlook was helpful. If you have any questions, feel free to leave those in the comments below.
For another great tutorial, be sure to check out my post on how to use find and replace in Microsoft Word.
If you’re not subscribed to my YouTube channel, make sure you go over and watch my videos and subscribe.


Leave A Comment