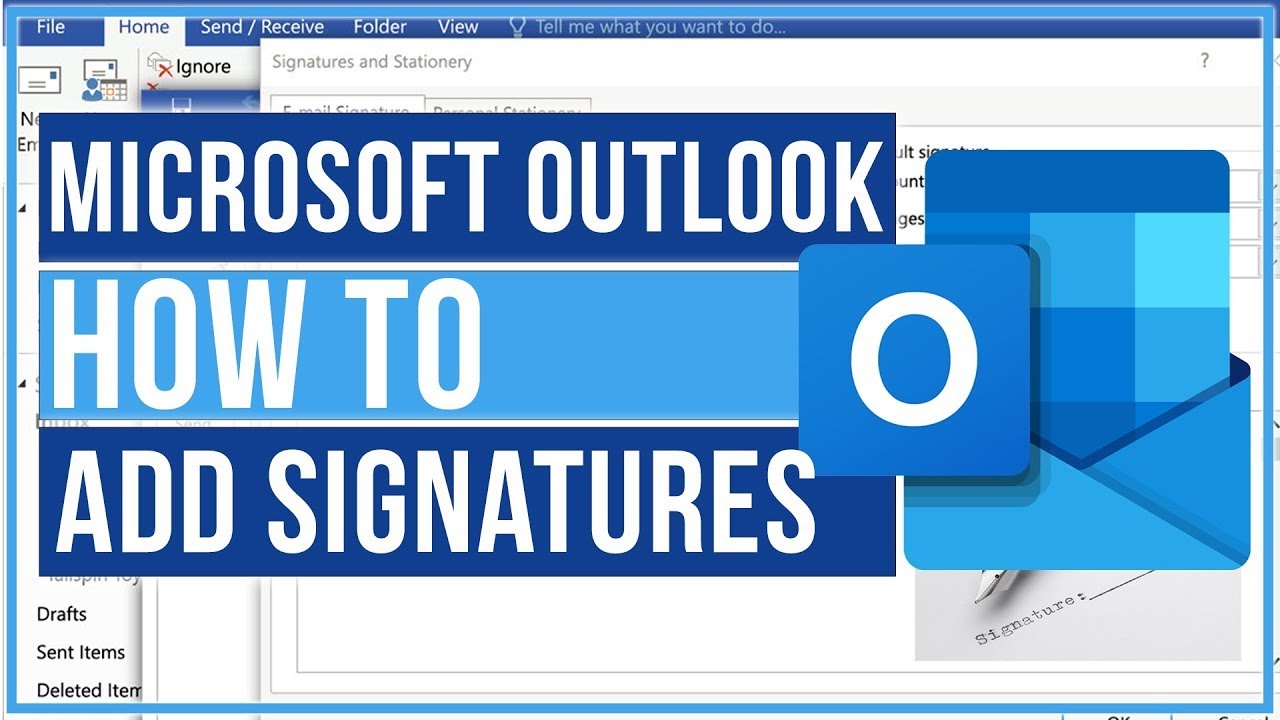
Today I’m going to walk you through a full tutorial on how to add a signature in Microsoft Outlook. I’ll talk about how to do this in the desktop app as well as the browser-based version of Outlook.
Desktop App
- Make sure you’re logged into your account.
- Go to File and Options.
- A dialog box with a left hand menu will pop up.
- Select Mail from the left hand menu.
- Click Create or Modify Signatures for Messages
- The Signatures and Stationery dialog box will appear.

- Make sure you are working in the E-mail Signature tab.
- Click the New button to create a new signature.
- Give your new signature a name like “Work” or “Personal.”
- Select that signature to edit.
- Type in your signature in the large text box below.
- You can also include links to websites and other information by clicking the hyperlink icon.
- You can format your font by changing the font, font size, bold, italics, underline, etc.
- Insert an image by clicking the Image icon.
- Choose where you want your default signature to appear under Choose Default Signature options.
- Click OK and your new signature should appear when you open up a new message.

Web Version
- Click on the Settings icon in the upper right corner of the page.
- Select View All Outlook Settings.
- Go to Mail and then Compose and Reply.

- You can create your signature the same way as outlined in the desktop app steps above.
I hope this tutorial on how to add a signature in Microsoft Outlook was helpful. If you have any questions, feel free to leave those in the comments below.
For another great tutorial, be sure to check out my post on how to use find and replace in Microsoft Word.
If you’re not subscribed to my YouTube channel, make sure you go over and watch my videos and subscribe.


Leave A Comment