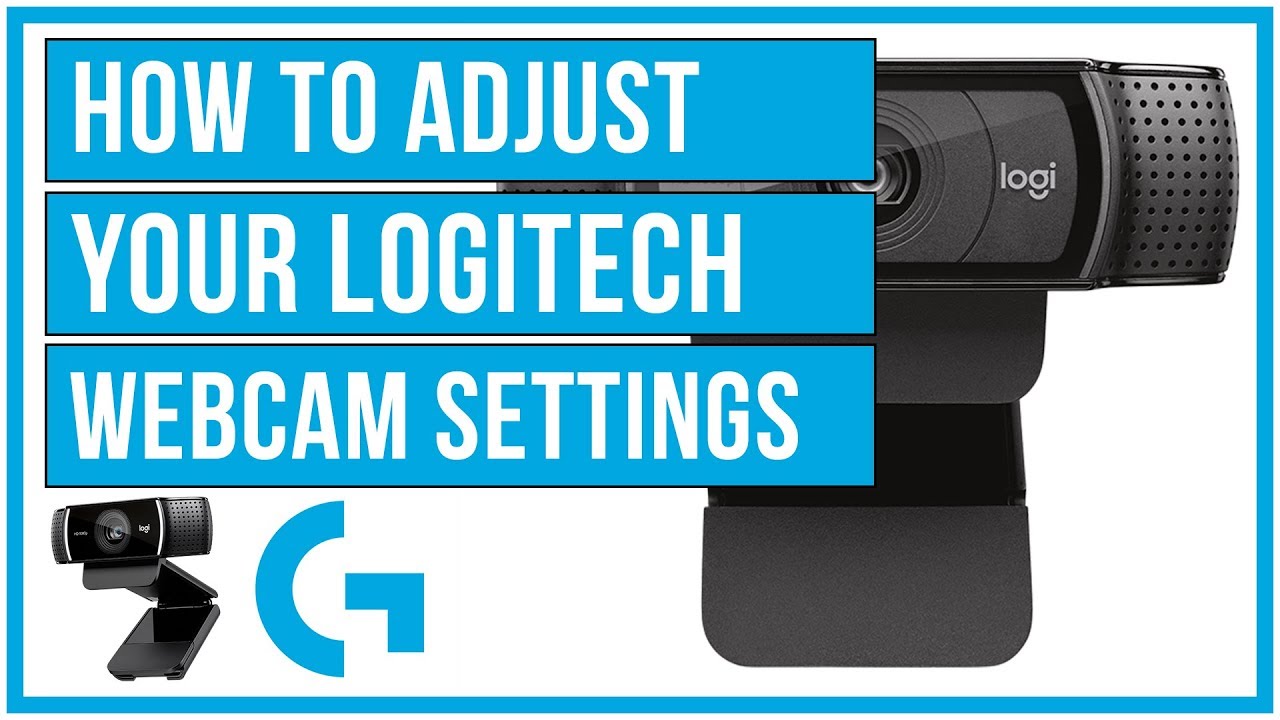
Today I’m going to talk about how to adjust your Logitech webcam settings. To get started, make sure you download the Logitech Gaming Software depending on the system you are using. Once your download is finished, open up the software and it should automatically detect the Logitech devices you are using.
- Find and click on the Logitech webcam.
- This will open up the webcam settings and you can start making adjustments.

- Under Camera Controls, there are several presets already set up for you so if you want to make customizations you will go to Custom.
- You can control the camera zoom by moving the arrows up and down or you can adjust what the webcam sees by holding and moving the gray box.
- Advanced options allow you to fine tune the webcam view settings.
- Video Settings is probably the easiest place to make changes that will make your video view best. You can adjust settings like brightness, contrast, and more here.
- Video Settings also has camera filters like black and white, cartoon, and more.
- It’s important to remember that a lot of what makes your camera look best is your lighting and what kind of space you are in.
- Your changes should be saved when you close out of the software.

I hope this tutorial on how to adjust your Logitech webcam settings was helpful. If you have any questions, feel free to leave those in the comments below.
If you’re not subscribed to my YouTube channel, make sure you go over and watch my videos and subscribe.


Leave A Comment